The idea is simple. Press a tiny hand into clay or ink, get a perfect print, frame it, cry a little. The reality is a baby who clenches their fist like they're holding state secrets, kicks the ink pad off the table, and then smears paint across your shirt before you can grab a wipe.
Handprint and footprint keepsakes are one of the best physical records you can make of how small your kid once was. Photos show what they looked like. A handprint shows actual size, in three dimensions if you use clay. Ten years from now, holding that tiny print against your growing kid's hand does something a photo can't.
Footprints are easier than handprints (start there)

Babies clench their fists by reflex for the first several months. The palmar grasp reflex doesn't fully fade until around six months, which means prying open those fingers for a clean handprint before then is a losing battle.
Feet, on the other hand, are just there. Relaxed, spreadable, cooperative. If you want a newborn print, go with feet first.
The hospital will often do a footprint on the birth certificate or a card, but those are typically done with standard ink and the quality varies wildly. If you want a good one, do your own within the first week or two while their feet are still impossibly small.
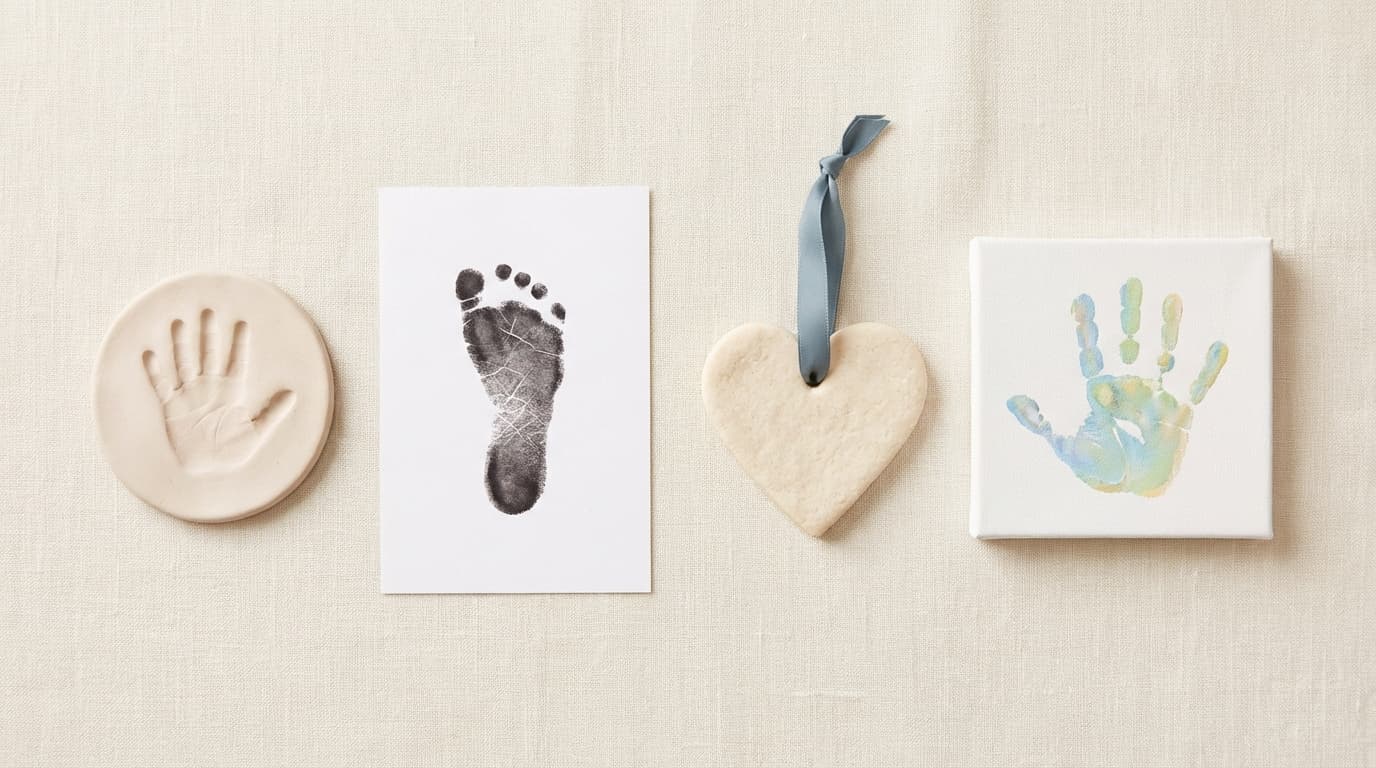
The four methods that work
Ink pads
Cheapest, least mess, fastest cleanup. Large inkless print kits (sometimes called "clean touch" pads) are the easiest option. You press the foot or hand onto the special pad, then press onto the included paper. No visible ink on the skin, nothing to wash off.
Regular stamp ink pads work too, but the ink gets everywhere and you'll be wiping it off fingers, toes, and whatever surface was nearby. Washable ink only. Never permanent.
Works well at any age, but especially good for newborns when speed matters. Do it while they're asleep and you can get a clean print in under a minute.
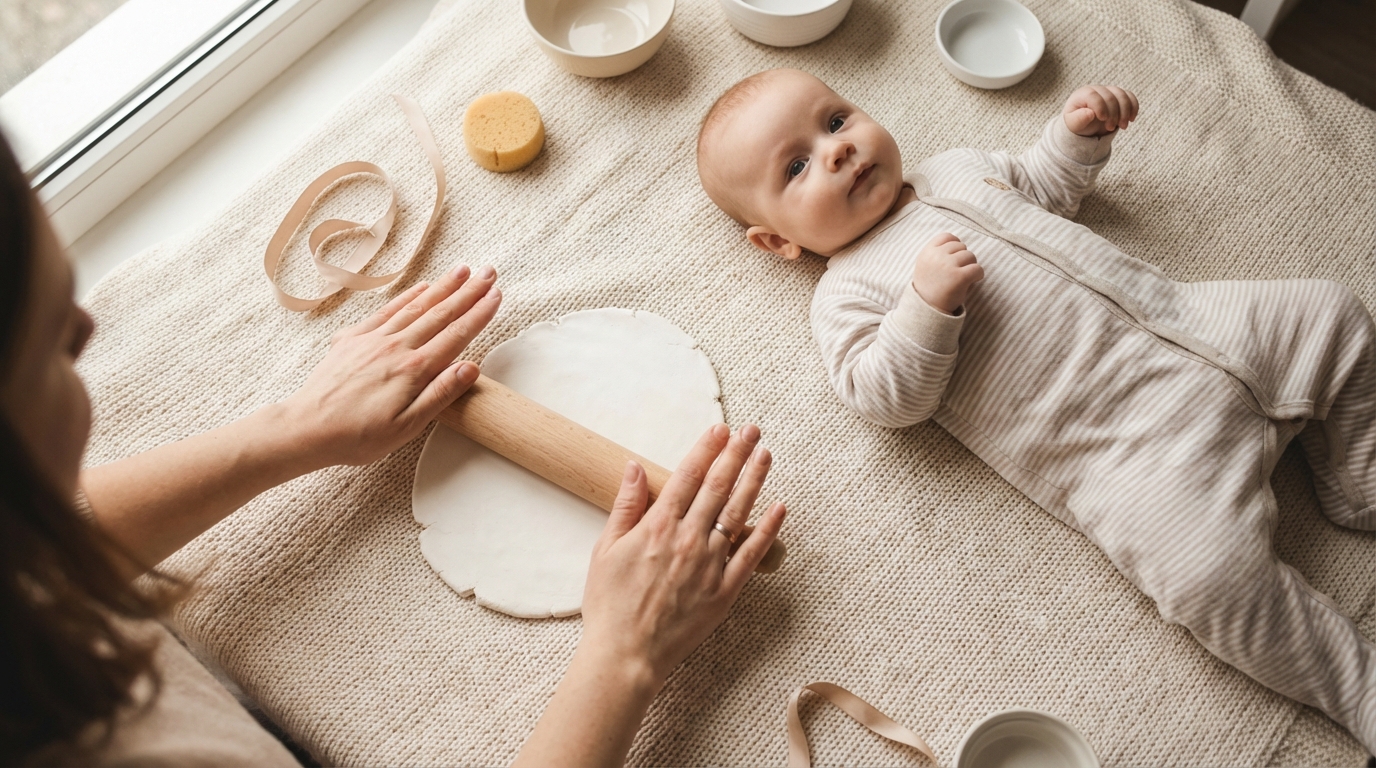
Salt dough
One cup flour, one cup salt, half a cup of water. Mix it, roll it flat (about 1 cm thick), press the hand or foot in, poke a hole with a straw if you want to hang it, and bake at 100°C (200°F) for two to three hours. Let it cool completely before painting or sealing.
Salt dough is cheap and forgiving. If the print smudges, ball it up and start over. No urgency, no wasted materials.
The downsides: it cracks over time if not sealed with a clear coat, and the texture is a bit grainy. It's not going to look like a pottery studio piece. But it's the most accessible method and great for a first attempt.
Air-dry clay
A step up from salt dough. Smoother texture, brighter white finish, and holds detail better. You can find air-dry clay at any craft store. Roll it out, make the impression, and let it dry for 24 to 48 hours. No oven required.
Baking soda clay is a popular DIY alternative: one cup baking soda, half a cup cornstarch, three-quarters cup water, cooked on the stovetop until it thickens into a dough. It dries whiter and smoother than salt dough and is less prone to cracking.
If you want something that looks polished enough to frame or gift to grandparents, this is the method.
Paint on canvas
Brush non-toxic, washable paint onto the hand or foot, press onto a canvas or thick card stock. This one's messier but produces the most colourful results. You can turn handprints into animals (a classic palm-print butterfly), flowers, or holiday art.
Fair warning: paint on a baby's hand gets everywhere fast. The AAP recommends using only products that conform to ASTM D4236 and carry an Approved Product seal from the Art and Creative Materials Institute. Have wet cloths ready before you start, not after.
Timing it right
Timing matters more than technique. A great method with a squirming, overtired baby produces garbage. A mediocre method with a sleeping baby produces a decent print.
Newborn to three months. Footprints only. Do it while they're in a deep sleep, ideally the heavy-limbed phase about 20 minutes into a nap. Their feet are relaxed and they won't pull away. Ink pads or clean-touch kits work best here because speed matters.
Four to six months. Footprints still easier. You can attempt handprints but expect the fist clench. Some parents have luck gently pressing each finger down individually rather than trying the whole hand at once. Clay or dough works better than ink here because you can take your time shaping.
Six to twelve months. The grasp reflex has faded and you can get real handprints now. This is also when babies start grabbing everything, so the paint-on-canvas method becomes more of a team sport. One person holds the wrist, the other guides the canvas. It's chaotic but the prints at this age show finger separation clearly and look great.
Toddlers. They can sometimes participate on purpose. "Press your hand here" occasionally works. More often they'll slam their hand down, smear it sideways, and then try to eat the clay. Still worth doing. The imperfect ones have character.
The honest tips nobody puts in the guide
Get two attempts' worth of materials. The first one almost never works. If you're using clay, roll out two pieces. If it's ink, have extra paper ready.
Trim their nails first. A freshly trimmed nail leaves a cleaner impression than a long one, and with clay, long nails can gouge the surface rather than pressing flat.
Do it after a feeding. Full babies are calm babies. Hungry babies fight everything.
If you're doing handprints, start with the pinky side of the hand and roll toward the thumb. Don't press the whole palm flat at once, or you'll lose the finger details.
For clay impressions, press gently but firmly for about three seconds. Don't push too deep or the edges of the print will look bloated. You want maybe half a centimetre of depth.
Write the date and age on the back before you forget. Use a toothpick on wet clay or a marker on dried pieces. "June 2026, 4 months" is all you need, but you will absolutely blank on the exact date six months later if you don't.
What to do with the prints once you have them
Frame them. A shadow box frame fits a clay print well. IKEA's SANNAHED frame has enough depth for a clay impression. For ink or paint prints on paper, any regular frame does the job.
Gift them. Grandparents will genuinely lose it over a handprint ornament. Salt dough with a ribbon through the hole, the kid's name and date on the back. Takes 30 minutes to make and becomes one of their most valued possessions.
Make an annual series. One handprint every birthday, same method, same frame size. By age five you'll have a row of prints showing how much they've grown and it hits differently than photos do.
When it goes wrong
It will. The salt dough will crack. The paint will smear. The baby will kick the clay off the table. The "clean touch" ink pad will somehow still end up on your couch.
A smudged handprint where you can sort of make out three fingers and a thumb is still a record of how small they were. Keep those too.
If you're documenting the keepsake alongside your other baby memories, Aanvi lets you snap a photo of the finished print and add it to your baby's timeline with the date and age attached. Useful for keeping track of when you made each one, especially if you're doing a yearly series.
Take a photo of the process too. The behind-the-scenes shot of paint-covered hands and a grinning baby is often better than the print itself.
If you're tracking other firsts alongside the handprint projects, the Milestone Tracker can help you keep tabs on what's coming next.